How to Build an Email List From YouTube (A Practical Guide for Small Channels)
Where YouTube actually lets you put a clickable link, what to offer viewers in exchange for an email address, and a simple welcome sequence you can set up this weekend.

Most small YouTubers know they should have an email list. Few have one that grows, because “join my newsletter” gives a viewer no reason to sign up.
Viewers don’t give out email addresses to stay in touch. They give one in exchange for something specific that finishes the job the video started: the checklist from the tutorial, the template you used on screen, the spreadsheet behind your comparison.
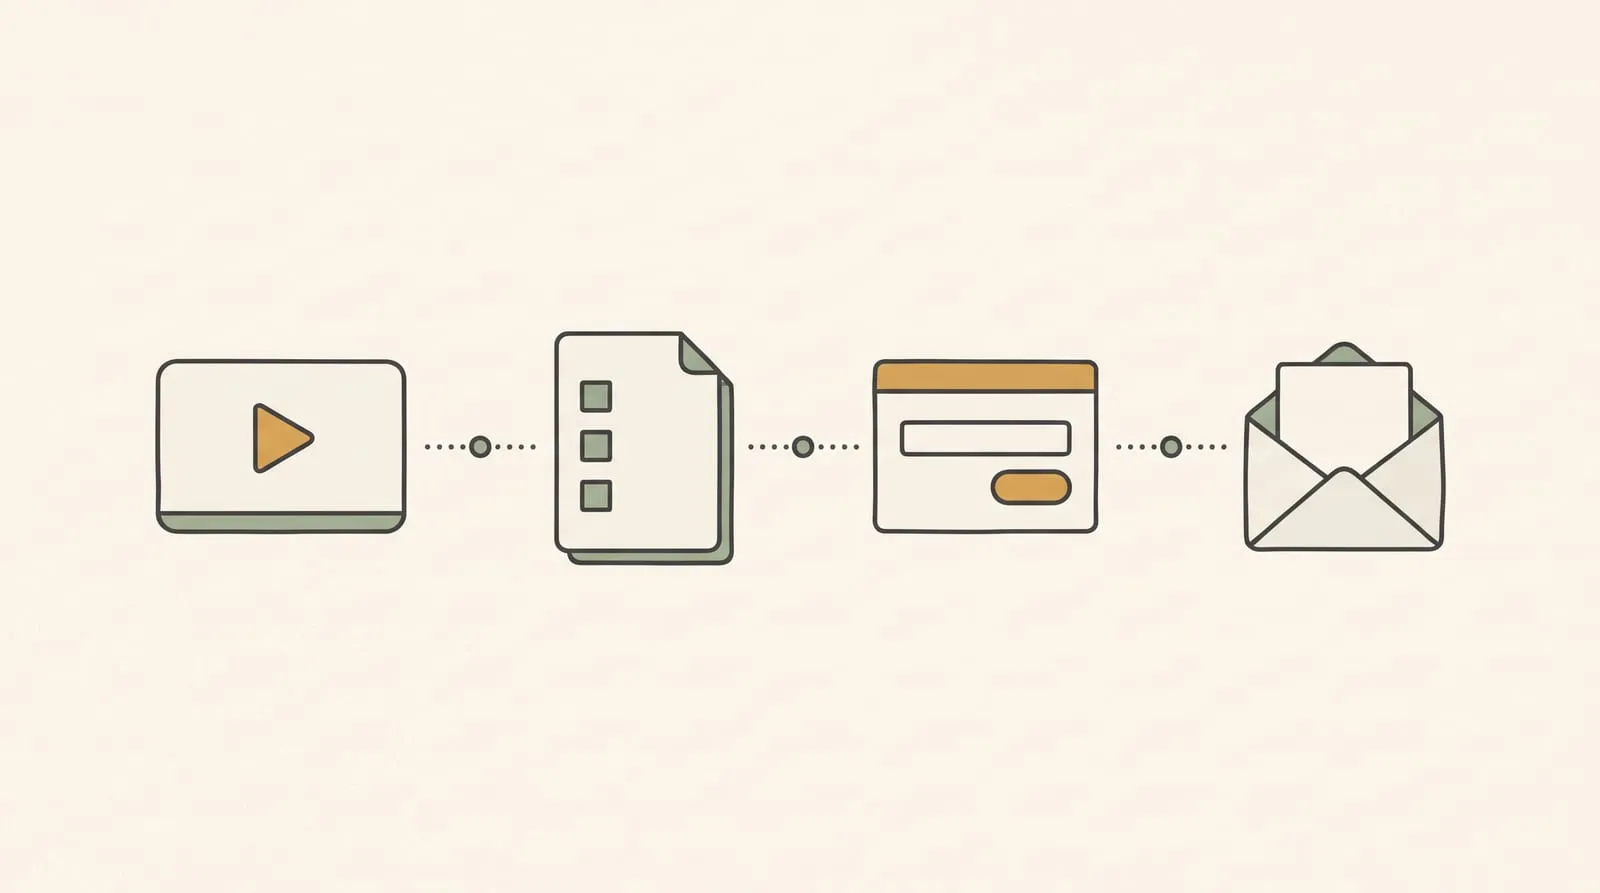
So the short answer is:
- Pick the video that already gets the most views.
- Make one free resource that helps someone act on that video.
- Put a signup page for it where YouTube allows a clickable link, and mention it out loud in the video.
- Send a short welcome sequence so new subscribers know what they signed up for.
The rest of this guide covers each step, including the link rules that trip up most creators.
Why bother now
YouTube decides who sees your videos, when, and whether you earn from them. That isn’t a complaint; it’s the arrangement. But it means the audience you’ve built can be repriced without your input.
The clearest recent example: from February 1, 2027, new channels need 8,000 watch hours or 20 million Shorts views to join the YouTube Partner Program, double the current bar. We covered what the 2027 YouTube Partner Program changes mean for small channels in a separate guide. An email list doesn’t depend on those rules. If 500 people chose to hear from you, you can reach those 500 people next week, whatever the algorithm does.
An email list also makes every other income path easier. A product launch, an affiliate recommendation, or a sponsor’s offer reaches people who asked to hear from you, not just whoever the recommendation system showed your video to that day.
Step 1: Choose the video to start with
Don’t try to add an email signup to your whole channel at once. Start with one video.
Open YouTube Studio, go to Analytics → Content, and sort your long-form videos by views over the last 90 days. Pick the one at the top that matches all three of these:
- It teaches something. A tutorial, explainer, or comparison works better than a vlog or a reaction video. Viewers who are trying to do something want help doing it.
- It is still getting views. A video that got a spike two years ago and nothing since won’t move your list.
- It is a long-form video. Shorts descriptions don’t allow clickable links (more on that below).
If you have a few candidates, choose the one where viewers ask the most follow-up questions in the comments. Those questions tell you what the free resource should be.
Step 2: Make a lead magnet that finishes the video
A lead magnet is the free thing you offer in exchange for an email address. The useful test is simple: would a viewer who just finished the video want this so they can act on it?
Good lead magnets for educational channels are small and practical:
| Video type | Lead magnet that fits |
|---|---|
| Step-by-step tutorial | A one-page checklist of the steps, in order |
| Tool or software walkthrough | The template, preset, or settings file you used |
| Comparison or “best X” video | A comparison spreadsheet with your notes |
| Planning or productivity video | A printable planner or worksheet |
| ”How I did X” story video | The exact process as a short PDF guide |
| Any video with lots of questions | A short FAQ answering the five most common ones |
Keep it small. A one-page checklist that helps beats a 40-page ebook nobody finishes. You can make the first version in an afternoon in Google Docs, Canva, Notion, or a spreadsheet.
Name it for the outcome. “The 7-Step Home Studio Setup Checklist” tells people what they get. “My Free Guide” does not.
What not to use as a lead magnet:
- “Weekly tips.” It promises future work from you and gives the viewer nothing today.
- Something unrelated to the video. A productivity planner on a camera-gear video gets few signups and the wrong subscribers.
- Information that should have been in the video. If you hold back the key step to force signups, viewers notice, and some will say so in the comments.
Step 3: Set up a signup page
You need two things: an email platform to store subscribers and send email, and a simple page where someone enters their address and receives the lead magnet.
Most creator email platforms include both a landing page and automatic delivery of a file after signup. Many have free plans for small lists. When choosing, check four things on the provider’s current pricing page:
- A free or low-cost tier that covers your first few hundred to few thousand subscribers.
- Landing pages included, so you don’t need a separate website to start.
- Automations, so the lead magnet and welcome emails send without you.
- Easy export, so you can take your list with you if you switch.
The page itself needs only:
- a headline naming the lead magnet and the outcome;
- one or two lines on who it’s for;
- an email field and a button;
- a line saying what else they’ll receive from you and that they can unsubscribe anytime.
Be clear about what you’ll send. Email consent rules vary by country, including in the US and UK, where most of your viewers may be. The safest habit is to tell people plainly that they’re joining your email list, send only what you said you would, and include an unsubscribe link in every email. Most email platforms handle the unsubscribe link for you.
Step 4: Put the link where YouTube makes it clickable
This is where many creators lose signups. YouTube treats links differently depending on where they appear. Based on YouTube’s help page on sharing links (checked November 7, 2026):
| Placement | Clickable? | Notes |
|---|---|---|
| Long-form video description | Yes | Requires advanced features enabled on your channel |
| Comments on long-form videos (including your pinned comment) | Yes | Requires advanced features |
| Channel profile links | Yes | Up to 14 links on your channel page |
| Shorts description and comments | No | URLs appear as plain text |
| Related video link on a Short | Yes, to a YouTube video | Use it to send Shorts viewers to the long-form video that has the signup link |
| End screen link to a website | Yes, for YouTube Partner Program members | Requires an associated website; see YouTube’s end screen help |
If links in your descriptions aren’t clickable, check YouTube Studio → Settings → Channel → Feature eligibility and make sure advanced features are turned on. YouTube usually verifies you with a phone number or your channel history.
For the video you chose in Step 1, add the link in three places:
- The first line of the description. On most screens only the first couple of lines show before “more.” Something like: “Free checklist for this video: [link]”.
- A pinned comment. Many viewers read comments before the description.
- Your channel profile links, so the resource is easy to find from your channel page.
For Shorts, don’t paste URLs that won’t work. Use the related video link to send viewers to the long-form video that has the signup link, and mention the resource out loud.
Step 5: Mention it out loud, at the right moment
A link nobody knows about won’t get clicks. The most effective mention is short and comes at the point where the viewer would want the resource. That’s usually right after you show the step it helps with, not in the first 30 seconds.
For example:
“I’ve put all seven steps on a one-page checklist so you don’t have to pause this video. The link is the first one in the description.”
That works because it names the benefit (you don’t have to pause), says what it is (a one-page checklist), and says where to find it. Mention it once in the middle and once at the end. More than that starts to feel like an ad.
If the video is already published, you can’t add a spoken mention, but you can still update the description, pin a comment, and add a card pointing to a newer video that does mention it.
Step 6: Send a short welcome sequence
The welcome sequence is where most small lists go quiet. Someone signs up, receives the file, and never hears from you again until a launch months later. By then they’ve forgotten who you are.
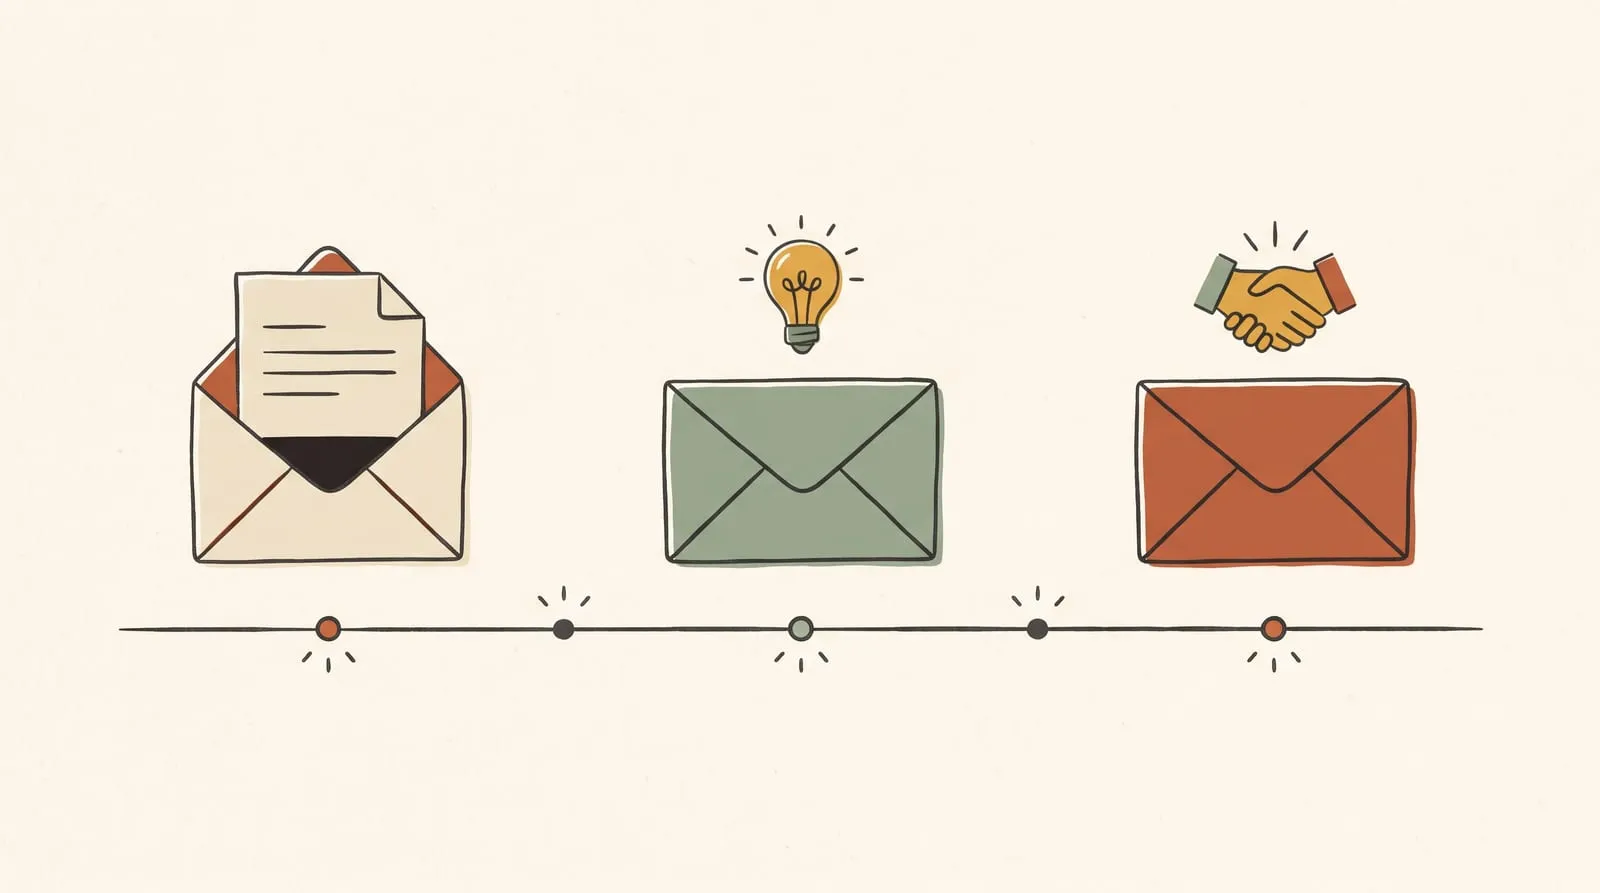
Set up three automatic emails once, and every new subscriber gets them:
Email 1, immediately: deliver the resource. Give them the link to the lead magnet, one sentence on how to use it, and one line on what they’ll get from you next and how often.
Email 2, two or three days later: the most useful thing you know. One short email with your best tip on the same subject, or a link to the video most viewers find helpful next. Ask one question they can answer by replying, such as “What are you stuck on with this?” Replies tell you what to make next, and inbox providers tend to treat replies as a sign your emails are wanted.
Email 3, about a week later: what this list is for. Explain what you send and how often. If you have an affiliate recommendation or a small product that fits, this is a reasonable place to mention it once, with no pressure.
After that, send something regular and useful. A short email every week or two is enough. The best ongoing content is often a written version of your latest video, with one extra tip or resource that’s only in the email.
What to expect
Set expectations by percentage, not by what big creators report. If a few percent of the viewers who watch your chosen video click the link, and a good share of those sign up, a video with 10,000 monthly views might bring in somewhere between a few dozen and a couple of hundred subscribers a month. Your numbers will differ by niche, how well the lead magnet matches the video, and how clearly you mention it.
These are rough illustrations, not benchmarks. The useful thing is to measure your own:
- Description click rate: your email platform or link tool shows clicks on the signup page.
- Signup rate: signups divided by landing page visits. If many people visit but few sign up, the page or the offer needs work.
- Signups per video: use a different link or tag per video so you can see which ones bring subscribers.
After a month, add the signup to your second-best video. If one lead magnet fits several videos, reuse it.
Mistakes to avoid
- Waiting until you’re “big enough.” The best time to start is when you have a video that gets steady views. Small lists are easier to learn from.
- Asking for emails without saying why. “Join my newsletter” converts worse than a named, specific resource.
- Collecting emails and never sending. A list that hears nothing for six months will mark your launch email as spam.
- Putting links in Shorts descriptions. They won’t be clickable. Use the related video link instead.
- Building a perfect funnel before you have a list. Three welcome emails are plenty to start.
Your next step
This week, pick the long-form video with the most views over the last 90 days, read its comments, and write down the question people ask most. Turn the answer into a one-page checklist. That’s your first lead magnet.
Once you have a few hundred subscribers, the next decision is what to offer them. Our guide on why your first digital product should remove one repeated question is a good place to start.
Sources and evidence
- YouTube Help: Sharing links with your audiences (checked November 7, 2026). Which link placements are clickable, including Shorts and channel links, and the advanced-features requirement.
- YouTube Help: Add end screens to videos. End screen external links for Partner Program members.
- TechCrunch: YouTube is disabling links on Shorts to cut down on spam (August 10, 2023). Background on when Shorts links stopped being clickable.
- YouTube Official Blog: changes to the YouTube Partner Program (August 10, 2026). The 2027 eligibility changes referenced above.
The signup estimates are our own illustrations, not measured benchmarks. This article contains no affiliate links and doesn’t recommend a specific email platform; a dated comparison of newsletter platforms for YouTubers is planned separately.